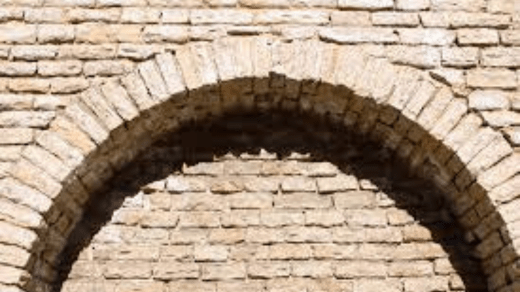
Creating an arch template is useful for a variety of DIY projects, such as building archways, doorways, or decorative arch designs. Here’s a step-by-step guide on how to make a basic arch template:
Materials You’ll Need:
- Large piece of cardboard, poster board, or paper
- Pencil
- Ruler or measuring tape
- Compass or a string with a fixed point (for drawing curves)
- Scissors
- Utility knife (optional)
Instructions:
1. Determine the Arch Dimensions:
- Decide on the dimensions of the arch you want to create. This includes the width and height of the arch. Measure and make note of these dimensions.
2. Prepare Your Work Surface:
- Lay out your large piece of cardboard, poster board, or paper on a flat work surface. Ensure it’s large enough to accommodate the size of your arch template.
3. Draw the Base Line:
- Using a ruler or measuring tape, draw a straight horizontal line on your chosen material. This line represents the base of your arch. Make it the same length as the width of your arch.
4. Find the Center Point:
- Locate the center point on your base line. This is where the highest point of your arch will be. Divide the width measurement of your arch in half and mark the center.
5. Create the Arch Shape:
- There are different types of arches you can create, such as a semicircular arch or a Gothic arch. For a simple semicircular arch, follow these steps:
- Attach one end of a string or use a compass at the center point you marked.
- Adjust the length of the string or the compass radius to half of the desired arch height.
- Use the string or compass to draw an arc that connects both ends of the base line. This will create the top part of your arch.
6. Cut Out the Arch Template:
- Carefully cut along the curved line you drew to create your arch shape. Use scissors or a utility knife, depending on the thickness of your material.
7. Fine-Tune and Use:
- Inspect your arch template for any rough edges or imperfections, and make necessary adjustments to ensure it’s symmetrical and accurate.
- Your arch template is now ready to use for tracing and transferring the arch shape onto other materials like wood, drywall, or other surfaces.
8. Label and Store (Optional):
- To keep your arch template organized and reusable, you can label it with the arch dimensions and type. Store it in a safe place for future projects.
This basic method allows you to create a semicircular arch template, but you can adapt it to make templates for different arch shapes by adjusting the compass or string’s curvature. Whether you’re constructing an archway or using the template for artistic purposes, having an arch template can save time and ensure precise results.

